Hello and welcome back! In this blog, I’m going to cover a little different topic than my previous ones. This time, it’s about setting up Juniper‘s vSRX within GNS3 in Ubuntu. To briefly introduce the involved subjects; vSRX is the virtual firewall appliance made by Juniper Networks, GNS3 is the best open-source network simulation software and Ubuntu is one of the most widely used Linux based operating systems.
Installing GNS3
Installing GNS3 in Ubuntu is quite simple and easy. In fact, Ubuntu itself hosts GNS3 package in its default repository. So, we neither need to compile it from source code nor to install it from additional repository. Here’s how we can install GNS3 in Ubuntu:
[code]user@ubuntu:~$ sudo apt-get update
user@ubuntu:~$ sudo apt-get install gns3[/code]
However, the GNS3 version hosted in Ubuntu’s repository isn’t the latest one. To install the latest version of GNS3, we can follow these steps as suggested by GNS3 community:
[code]user@ubuntu:~$ sudo add-apt-repository ppa:gns3/ppa
user@ubuntu:~$ sudo apt-get update
user@ubuntu:~$ sudo apt-get install gns3-gui[/code]
I’ve also made a video on installing GNS3 in Ubuntu platform.
Setting Up vSRX in GNS3
Before we begin the setup process, let’s download vSRX image from Juniper Network’s download site. In my case, I’ve downloaded Junos vSRX 12.1 for VMware appliance. I’m doing this article based on this version, so there might be different results if you’re using different versions. We then need to extract the downloaded OVA file to retrieve the VMDK image.
Since I’m using Qemu to run virtual machines within GNS3, I needed to convert the VMDK image to Copy On Write image (qcow2) format. This conversion was accomplished by following command:
[code]user@ubuntu:~$ qemu-img convert junos-vsrx-12.1I20130322_2104_slt-builder-domestic.vmdk -O qcow2 junos-vsrx-12.1I20130322_2104_slt-builder-domestic.img[/code]
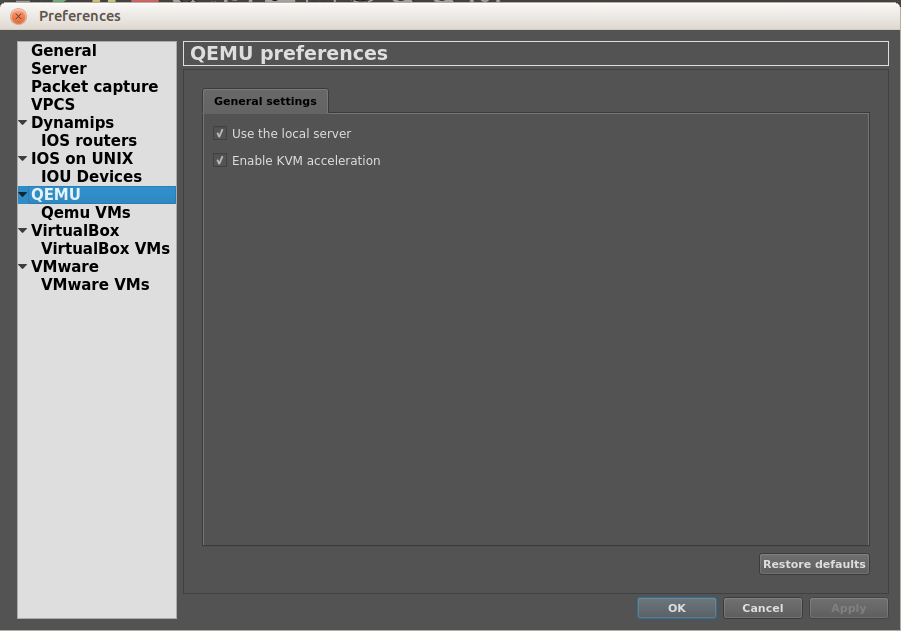
Once I had my qcow2 image for vSRX created, I configured a QEMU VM using this new image. To do so, I launched the GNS3 application and navigated to Edit menu, and then to Preferences (Ctrl + Shift + P). Inside Preferences window, I switched to Qemu VMs within QEMU section.
To add a vSRX VM, I clicked on New and provided required parameters as in the figure below:

I entered the newly created qcow2 image within the HDD tab and left the rest as default.

Within Network tab, I configured the number, naming scheme and type of interfaces to be used with my vSRX appliance.

At last, I added a little parameter into Advanced settings tab. As you can see in the below image, I’ve entered “-smp 2 -nographic“ value as options within Additional settings. This option is very important for proper functioning of vSRX because it enables this VM to use 2 vCPUs while running in command line mode. Absence of this option can result in missing interfaces in vSRX later.

To summarize, my Qemu based vSRX setup looks like this:

After the creation and configuration of vSRX VM was completed, I added my newly created vSRX into the GNS3 topology and it worked as expected. When I started my vSRX device, it gave me a notification message saying Hardware virtualization wasn’t enabled in my host computer and vSRX might not perform well. So, I closed my GNS3, restarted my laptop and enabled Virtualization support for processor from BIOS setting. Note that, all computer hardware may not support hardware virtualization, specially older ones. So, before you try it, please check hardware specifications of your device and make sure that it supports virtualization support.
The next time I opened GNS3 and started vSRX, it ran with amazing speed and without any error message. I must admit this is the best performance I ever achieved while running vSRX in GNS3. I learned somewhere in the Internet that Qemu has better performance on Linux platform than on any other platforms. This lab setup of mine made me believe it.

It completes this blog on how to setup vSRX within GNS3 using Qemu. I hope you’ve found it informative and useful. Please let me know your suggestion and queries in the Comments section below. Thank you!
Leave a Reply